How to Setup an Online Store on Your WordPress Webcomic Website with WooCommerce
- comic, comic easel, comicpress, webcomic, webtoon, woocommerce, wordpress
Are you looking to sell print and digital collections of your comic? Maybe you wish to sell merchandise like t-shirts, posters, mugs, stickers etc. If you have a WordPress website, you can setup your very own shopping cart store, and in just a few steps! The following tutorial will give you a step-by-step breakdown of what it takes to setup an e-commerce store on your website with the WooCommerce plugin.
One important thing to note. You are going to need a WordPress theme that supports the WooCommerce plugin. Good news is that the premium version of Toocheke does support WooCommerce. So, feel free to get it here and install. I am also assuming you have a Secure Sockets Layer (SSL) certificate installed on your website. If you are going to be handling credit cards on your websites, you want to ensure all the data being handled is safe and secure.
- Login to the WordPress admin dashboard for your website.
- Hover over Plugins in the main menu then click Add New
- Search for the plugin using the “woocommerce” keyword. It should be the first one that pops up.
- Click the Install Now button
- Click the Activate button
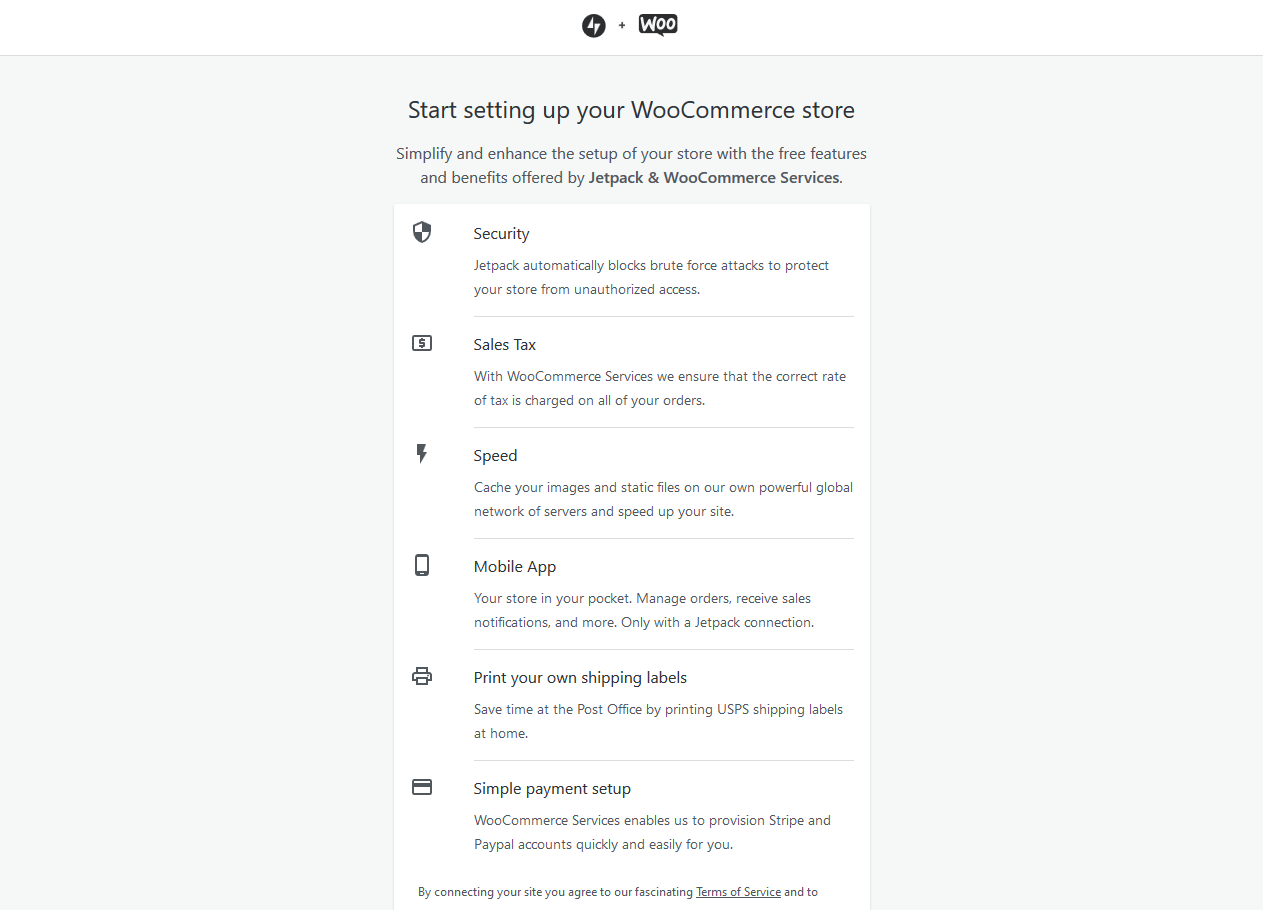
- You should then get the WooCommerce setup wizard. For the first step, scroll to the bottom of the screen and click on the Get Started

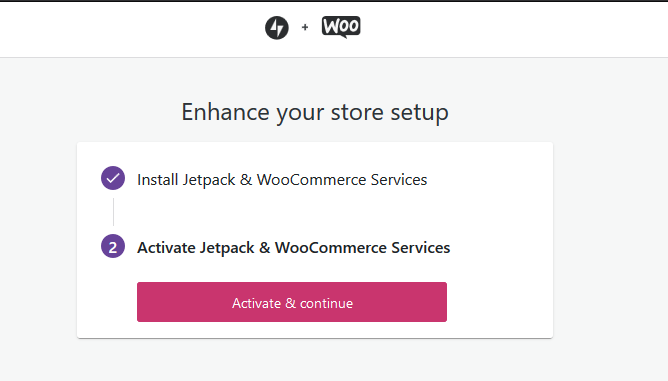
- For the next step, you’ll be asked to install Jetpack & WooCommerce Services plugins. Click the Activate & continue

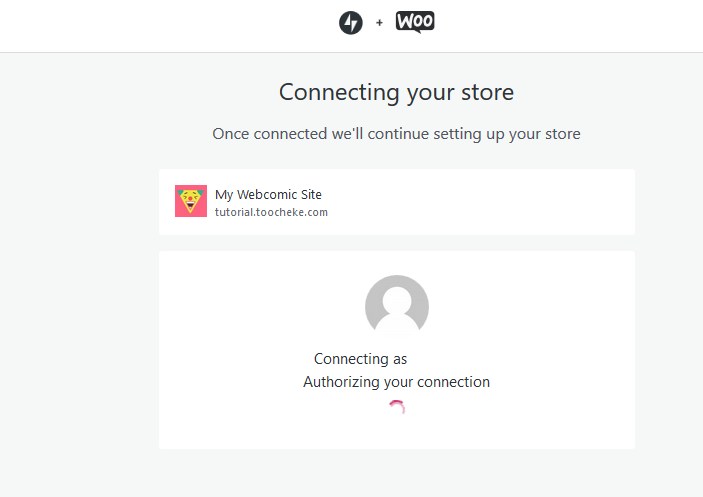
- You will then be prompted to setup a Jetpack account. Go ahead and register an account. This will result in the following connecting page.

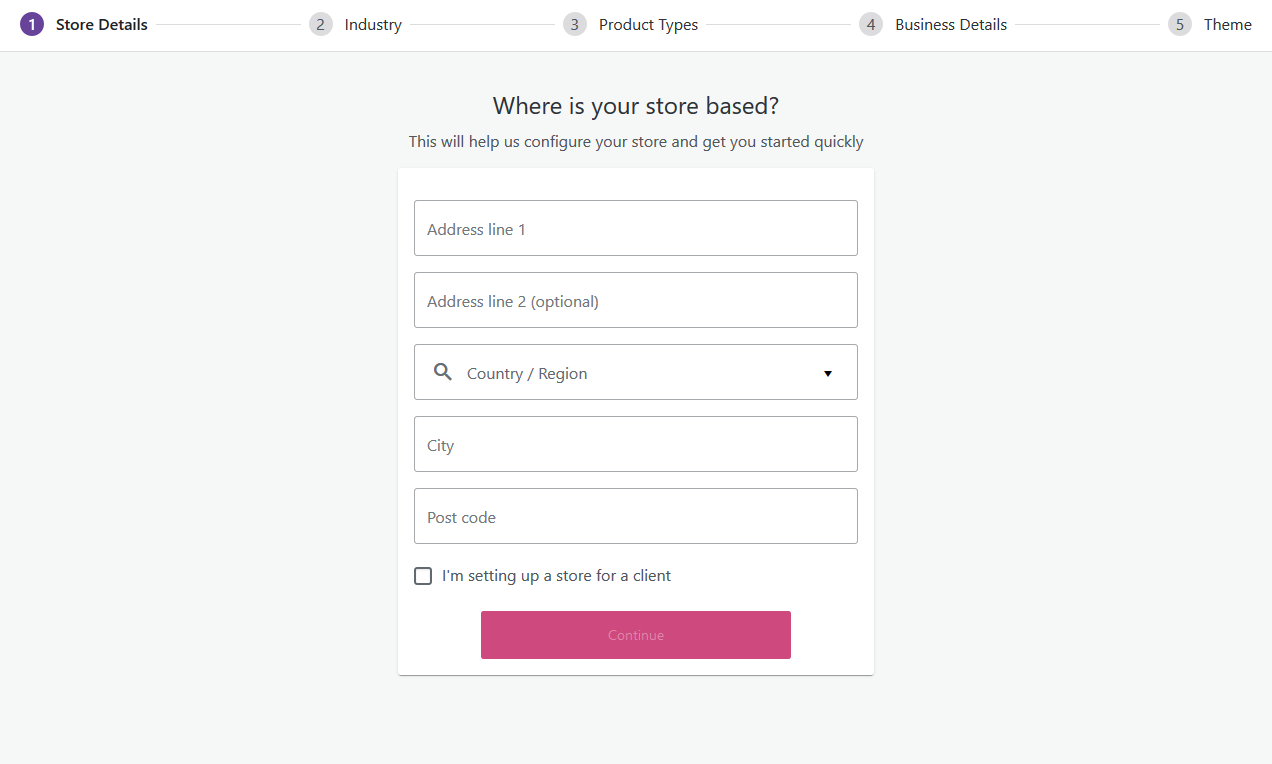
- After it is done connecting, you will get the Store Details Enter the address for your store.

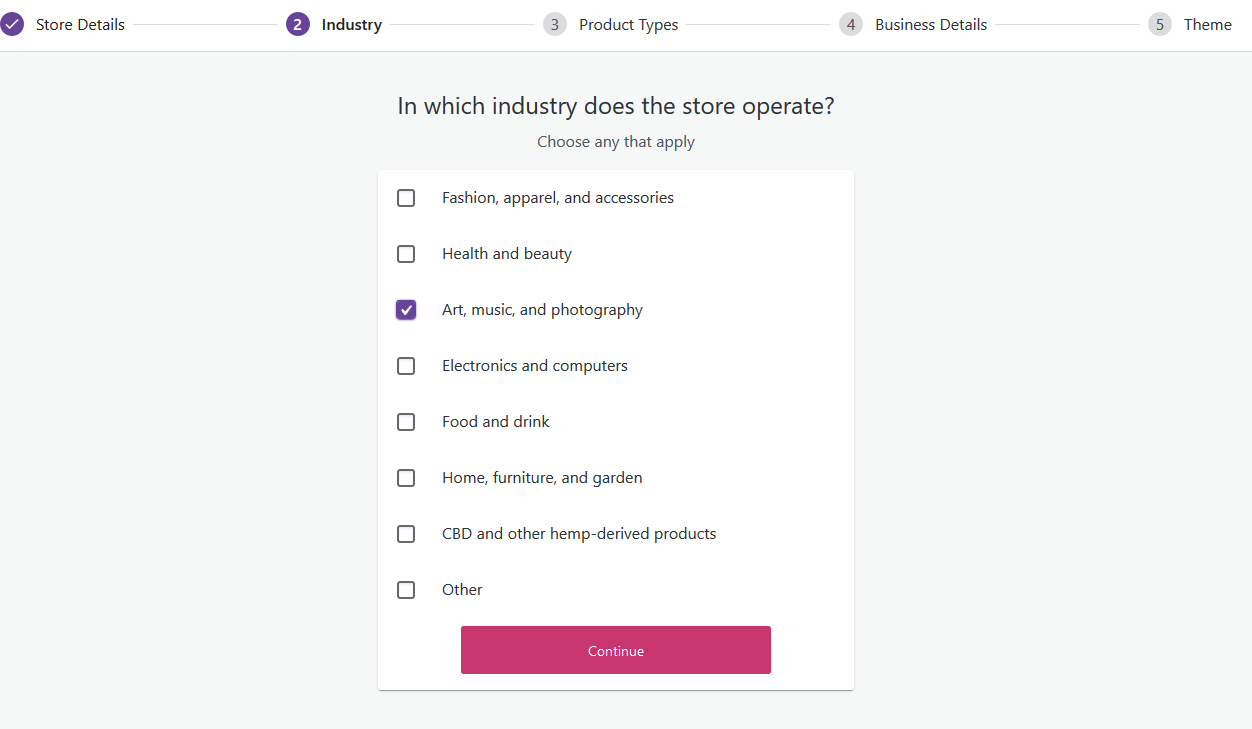
- The next step will be the Industry Select whichever one applies then press the Continue button.

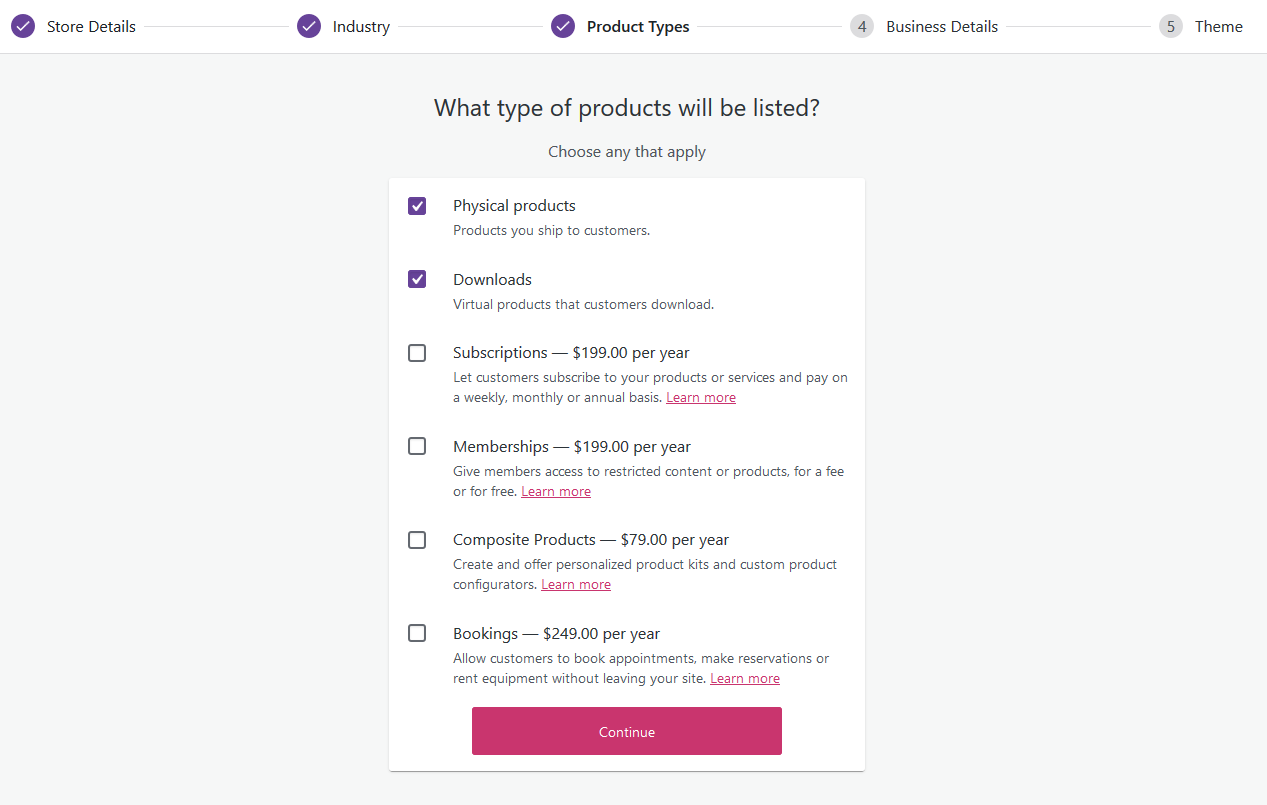
- Next up, Product Types. If you plan on selling physical products and merchandise like books, t-shirts, mugs etc., then select the Physical products option. If you also plan on selling digital products like your comic e-Books, then select the Downloads option.

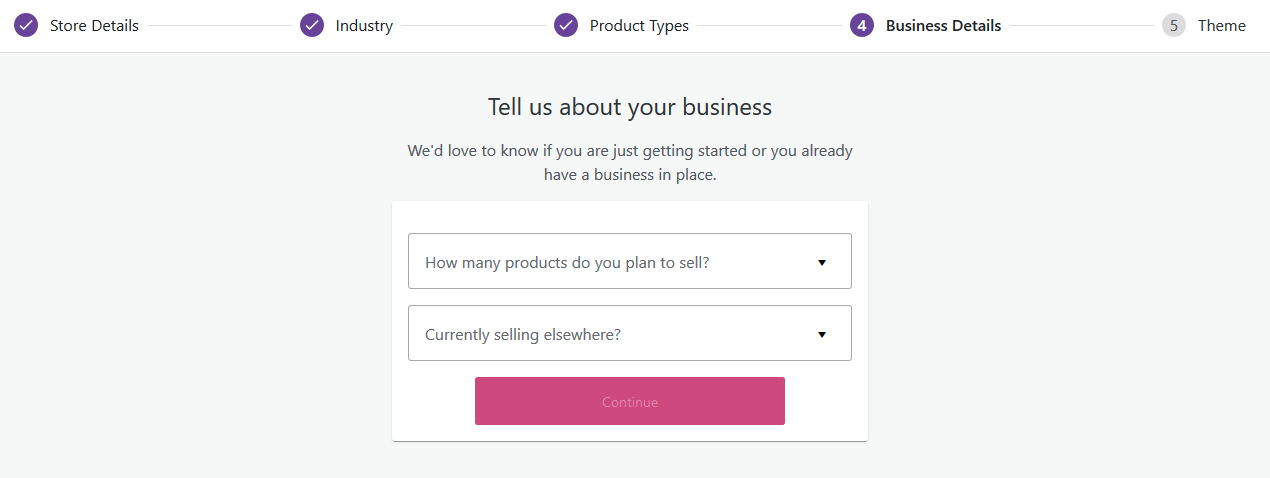
- For the Business Details step, fill out the fields (if you don’t need them, uncheck the Facebook, Mailchimp and Google Shopping options) and click the Continue

- The final setup step will be the Theme As I mentioned earlier, I am assuming you have already installed and activated a WordPress theme that supports WooCommerce. Go ahead and click the Continue with my active theme button.

- You should now get a final steps screen. Click the Continue

- For the Add your first products step, select the Add manually(recommended) You will then get the Add new product window.
- Enter the product name, a long description of the product, a short description of the product, product image, and a product gallery if you have more than one image for the product.
- For the Product data section within the Add new product page:
- Select the Product type (Simple product). If the product is physical, check the leave the Virtual and Downloadable checkboxes unchecked, otherwise if this is a digital product, check both.
- For the General tab, enter the Regular price (and Sale price if there is one). If this is a digital product and you clicked the Virtual and Downloadable options in the previous step, you should see some extra download fields. Upload the file that you will be selling, set the Download limit and the Download expiry.

- For the Inventory tab, leave the default values. All that is necessary is the In Stock option for the Stock status
- Enter the shipping details in the Shipping tab for physical products.
- Click the Publish button.
- You have successfully added the first product to your store! Repeat steps 16-18 for other products
- To continue with the setup steps from step 14. Hover the WooCommerce menu on your left then click Dashboard.
- You can skip the Personalize your store step.
- If you have physical products, click on the Set up shipping
- Enter the shipping cost and store location.
- Click the Complete Task
- Click the Setup tax button if you need to add tax for any of your products. Mostly applies to physical products.
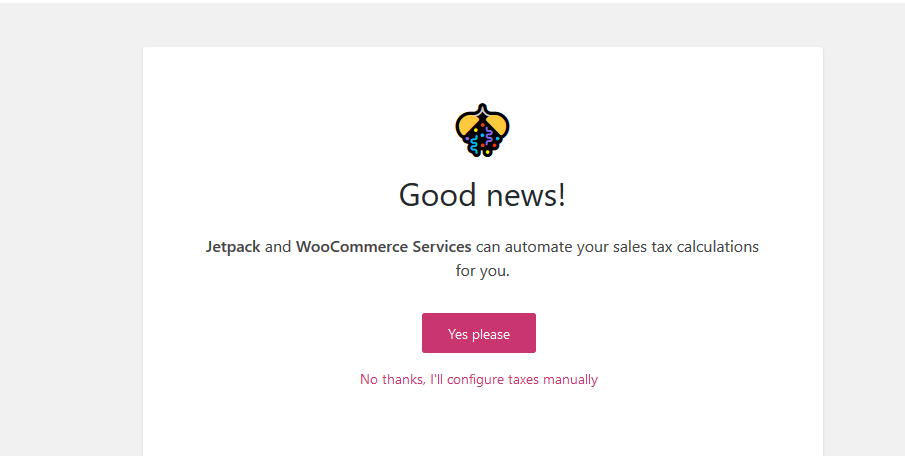
- The good news is Jetpack and WooCommerce Service plugins we installed earlier provide an an automatic wizard for setting up your tax amounts. Click the Yes Please button.

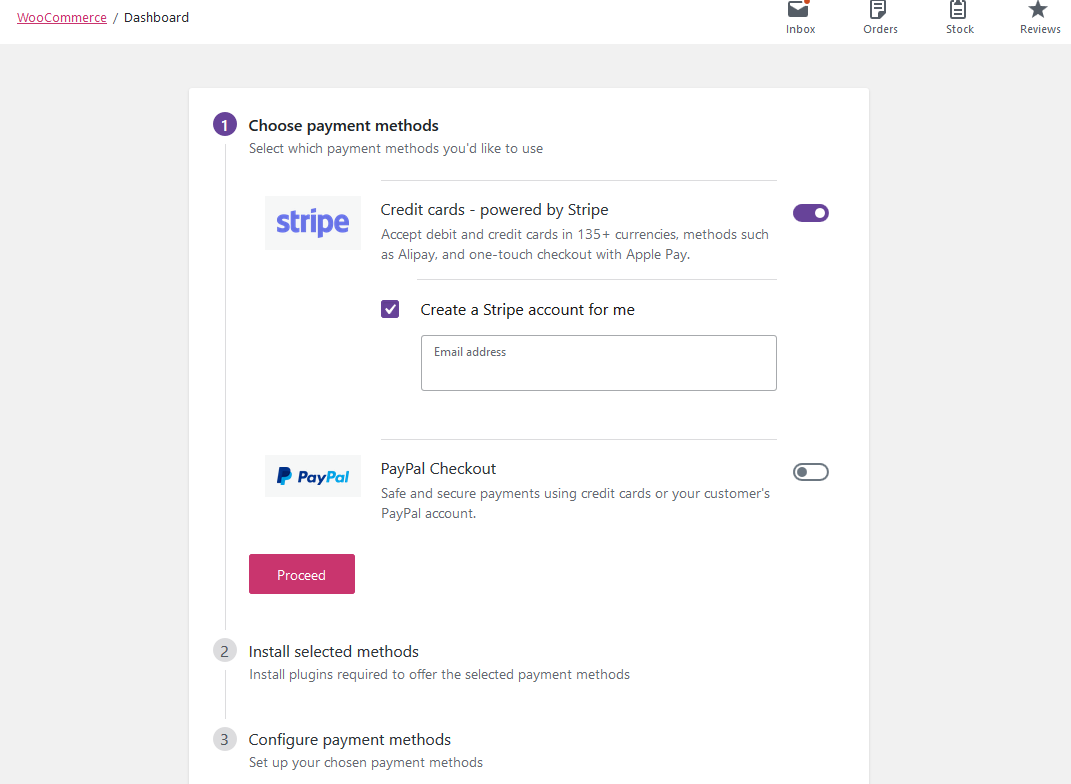
- Next up is the final step. Set up payments.

- Choose the payment method you would like to use. My personal preference is Stripe over Paypal. They have slightly lower fees, plus users won’t have to leave your website when entering their credit card info. Makes for a more seamless experience.
- You will have to create a Stripe account so select the Create a Stripe account for me option and enter your email address. Click the Proceed
- Once completed, you will receive an email asking you to claim your Stripe account. Make sure to follow the instructions and create an account password for your Stripe account.
- Congratulations! You have successfully setup your online store! But it is currently not accessible from your website. Let take care of that.
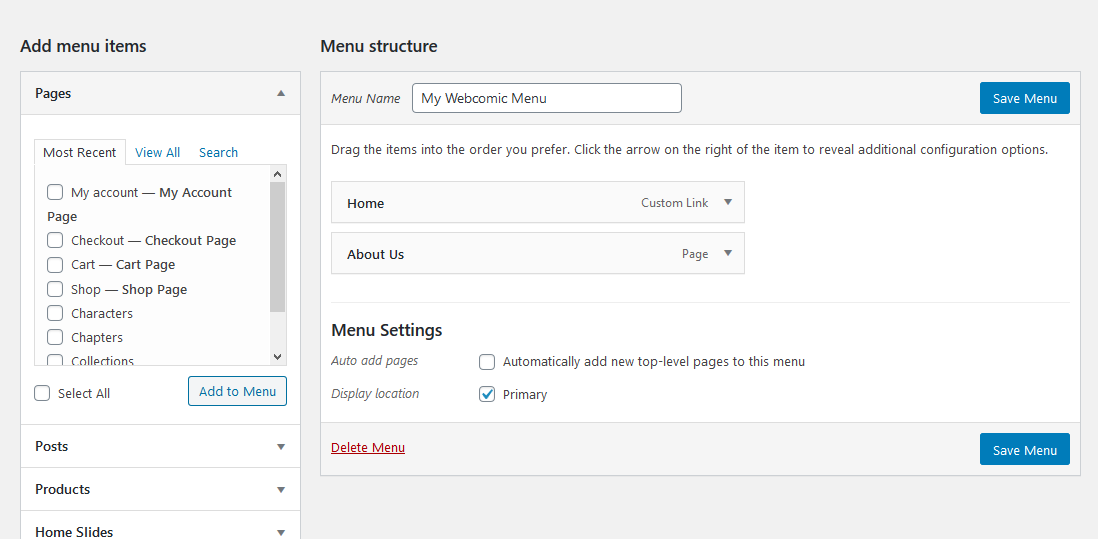
- From your WordPress Admin Dashboard, hover over Appearance then click Menus.
- From the Pages section in the Add menu items screen select the Shop page.

- Click the Add to Menu
- Click the Save Menu button on the right
Are you looking for a WordPress theme that supports WooCommerce?
You now have a fully functioning Shopping Cart website! Remember to login to your Stripe account and link it up to your Bank Account. This will allow you to deposit any cash from sales into your account.
Happy Tooning!


