

How to Add and Use Widgets in WordPress: A Complete Step-by-Step Guide
If you’re looking to spice up your WordPress site with some extra features, widgets are your secret weapon! Whether you want to display Toocheke features, recent posts, add a search bar, or show off your social media links, widgets can help you customize your site without needing any coding skills. In this easy-to-follow guide, I’ll walk you through everything you need to know to add and use widgets like a pro.
What are Widgets
Widgets in WordPress are small blocks of content or features that you can add to various sections of your website, like sidebars, footers, or even the homepage. Think of them as customizable building blocks that allow you to add extra functionality or content to your site without having to dive into any complex code. Now, let’s dive into how you can add and use them to make your site truly shine!
Login to your WordPress dashboard.
Install Classic Widget Editor
By default, the WordPress uses a block editor for editing pages, posts and widgets. Many find the block editor a bit overwhelming, especially when compared to the old school way of managing a WordPress website. The block-based widget editor is powerful but can be tricky to navigate, particularly for beginners. That’s where the Classic Widgets Plugin comes in! By installing this plugin, you can return to the traditional widget interface, which many users find simpler and more intuitive. The Classic Widgets Plugin restores the old widget settings screen, where you can drag and drop your widgets into sidebars or footers and tweak their settings without getting lost in blocks and columns. You can install the plugin as follows:
- Go to the Plugins → Add New Plugin menu.
- In the Add Plugins screen, you’ll see a search bar at the top right. Type in “Classic Widgets” and press enter. The plugin should appear in the search results.
- Once you see the Classic Widgets plugin, click the Install Now button next to it. WordPress will automatically install the plugin for you.
- After installation is complete, the Install Now button will change to Activate. Click the Activate button to enable the plugin on your site.
How to Add a Widget in WordPress
Now that you’ve got the Classic Widgets plugin installed, it’s time to add some awesome widgets to your site.
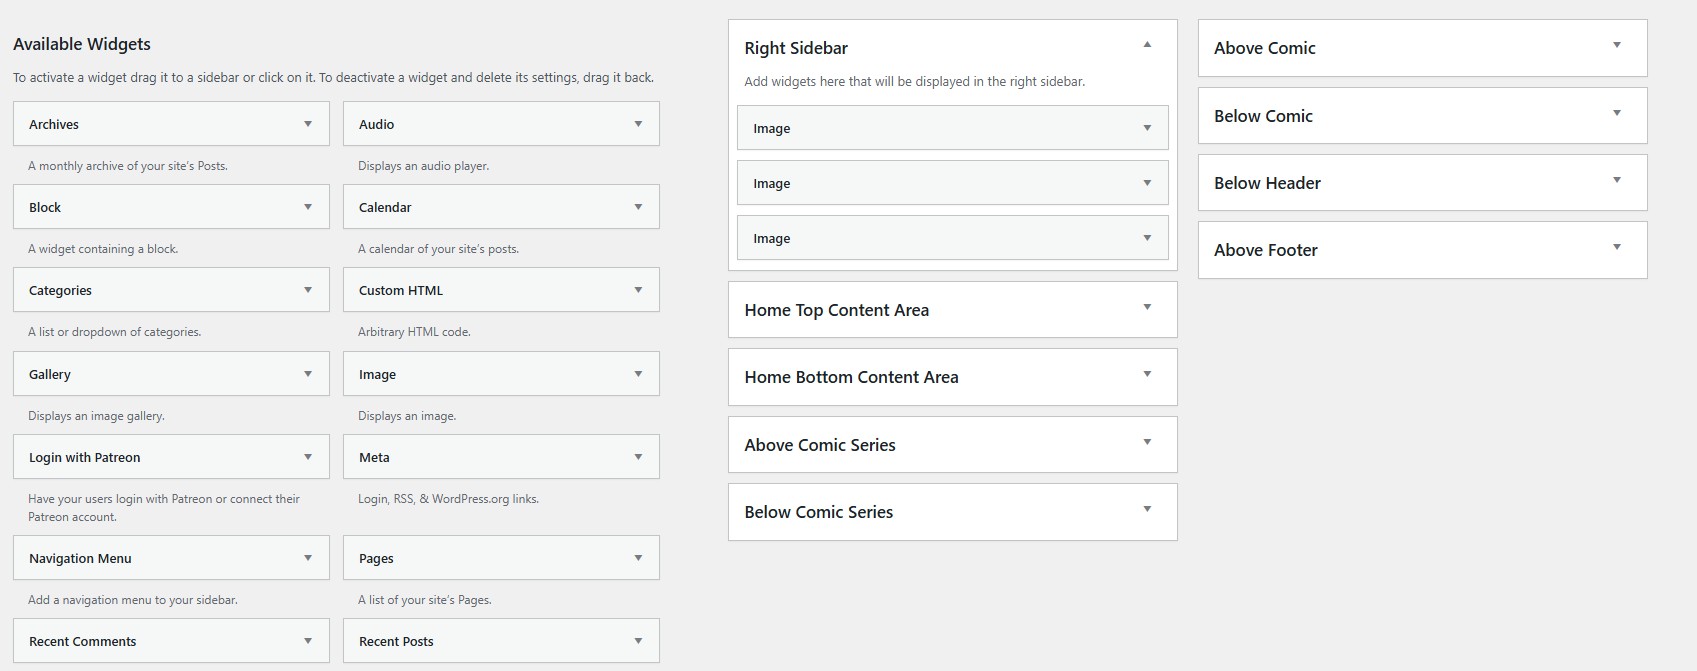
- In your WordPress dashboard, go to Appearance > Widgets from the left-hand menu.
- This will take you to the widget management screen, where you can see all Available Widgets to your left and your Toocheke sidebars/widget areas to your right.

- From the right-hand side of the screen, click from the available widget areas where you want to add the widget: Right Sidebar, Home Top Content Area, Home Bottom Content Area, Above Comic Series, Below Comic Series.
- On the left, you will see a list of available widgets. Scroll through the list and find the widget you want to add such as Toocheke: About Us or Toocheke Social.
- To add a widget, simply click on the widget title or drag it to the desired widget area on the right.
- Once you’ve added the widget, you’ll usually see some options to customize it. For example, if you added a Toocheke: About Us widget, you can add a title, a description as well an image to be displayed in the area.
- Fill in the fields based on your preferences and make any changes you need.
- When you’re happy with your settings, click the Save button to apply your changes.
Congratulations! You now know how to add widgets to your WordPress website like a boss! Now, you’re equipped to sprinkle some widget magic and make your website truly shine. Go ahead, play around with different widgets, and let your creativity run wild.
Happy Tooning!


