How to Setup a Paywall for Your WordPress Webcomic Website with Patreon
- comic, comic easel, comicpress, Patreon, paywall, webcomic, webtoon, wordpress
There comes a point and time when you as a comic creator may want to monetize and make money from your webcomic. This is assuming you have a decent sized backlog of comics already published and you have generated a large rabid following. One of the ways you can do that is buy setting up a Paywall with Patreon and this tutorial will show you how to do that.
For this tutorial I am working of the assumption that you are using the Toocheke WordPress theme. Check out this tutorial on how to setup Toocheke.
One very important thing to note before you continue. If you are just starting out publishing comics to your website and you do not have many readers, it does not make sense to setup a paywall. That would turn away potential readers. First build up a loyal audience base who will be will to support you monetarily.
- Register an account on Patreon
- Once you have registered on Patreon and performed all the necessary steps (verifying your email, uploading your profile image, your cover image and creating an about section) you will need to launch your Patreon page. Click on the Launch link that appears in the navigation bar to the right.
- Now you are ready to create some tiers that you will use for your Paywall. To do that, click on the Tiers menu in the main navigation bar.
- You may choose to use Patreon’s tier Starter kit or start from scratch. I usually start from scratch – by clicking on the No thanks, I’ll start from scratch link at the bottom of the page.
- Click the Add Tier link
- Enter the Tier Price, Tier Title, Tier Description and a Tier Image.
- Repeat steps 4 and 5 to add additional tiers. Once you are done you may now login to your website’s WordPress Admin dashboard. Make sure not to logout of your Patreon account as we are going to link this up to your WordPress website.
- We are going to make use of the Patreon WordPress plugin, so from your WordPress admin dashboard, select Plugins then Add New.
- Search for the plugin using the “patreon” keyword. It should be the first one that pops up (Patreon WordPress).
- Click the Install Now button
- Click the Activate button
- You should then get the following Patreon Welcome screen.

- Click on the Let’s Start
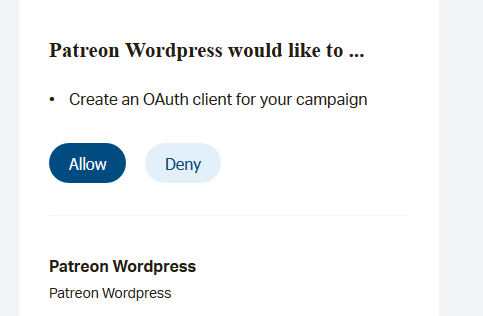
- You should get a request to authorize screen from Patreon. Click on the Allow.

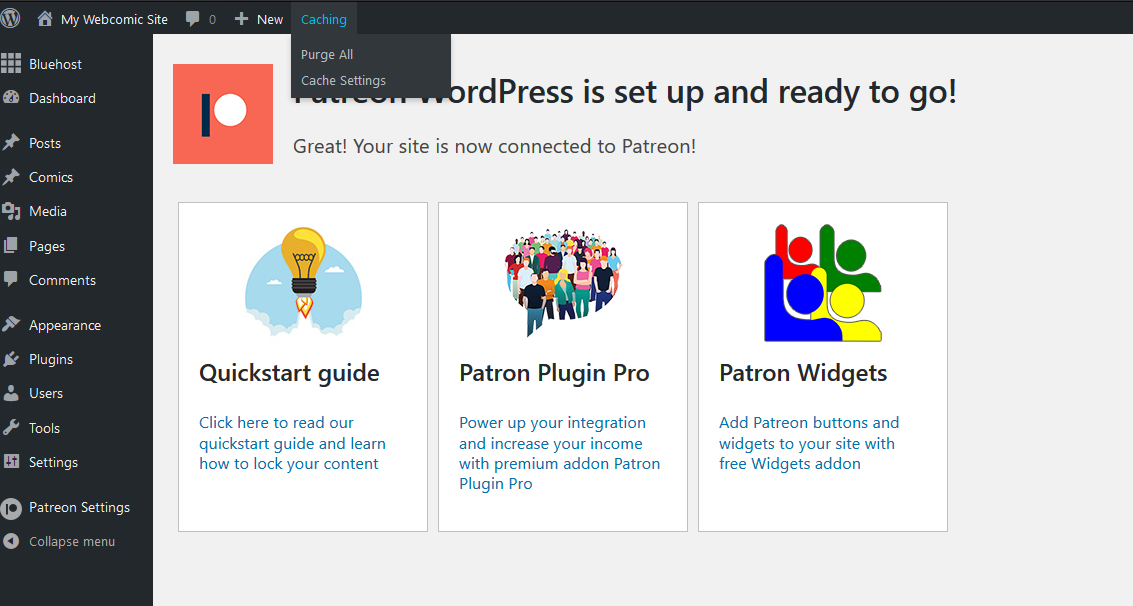
- You should then get redirected back to your WordPress site with the Patreon connection success page.

- Now you are ready to setup you comics behind a Paywall. Head on over to the Comics menu and then click on the Add New sub-menu in your WordPress admin dashboard.
- Enter the title of your comic and upload the comics image(s).
- To the right of the screen, if you scroll down. You should see a Patreon Level. This is where we determine whether the comic will be available for free to everyone, or if it will be behind a paywall with one of the tiers you setup earlier.
- Select the tier
- Click the Publish button to post the comic.
Are you looking for a WordPress theme that is fully intergrated with the Patreon WordPress plugin?
That’s it! Repeat the same process (steps 16-18) for any new comics you post. You can also edit previous posts and just modify the tier from the default (Everyone) to whatever tier suits your preference.
Happy Tooning!


